Easy DIY Cabinet Doors for Shelves
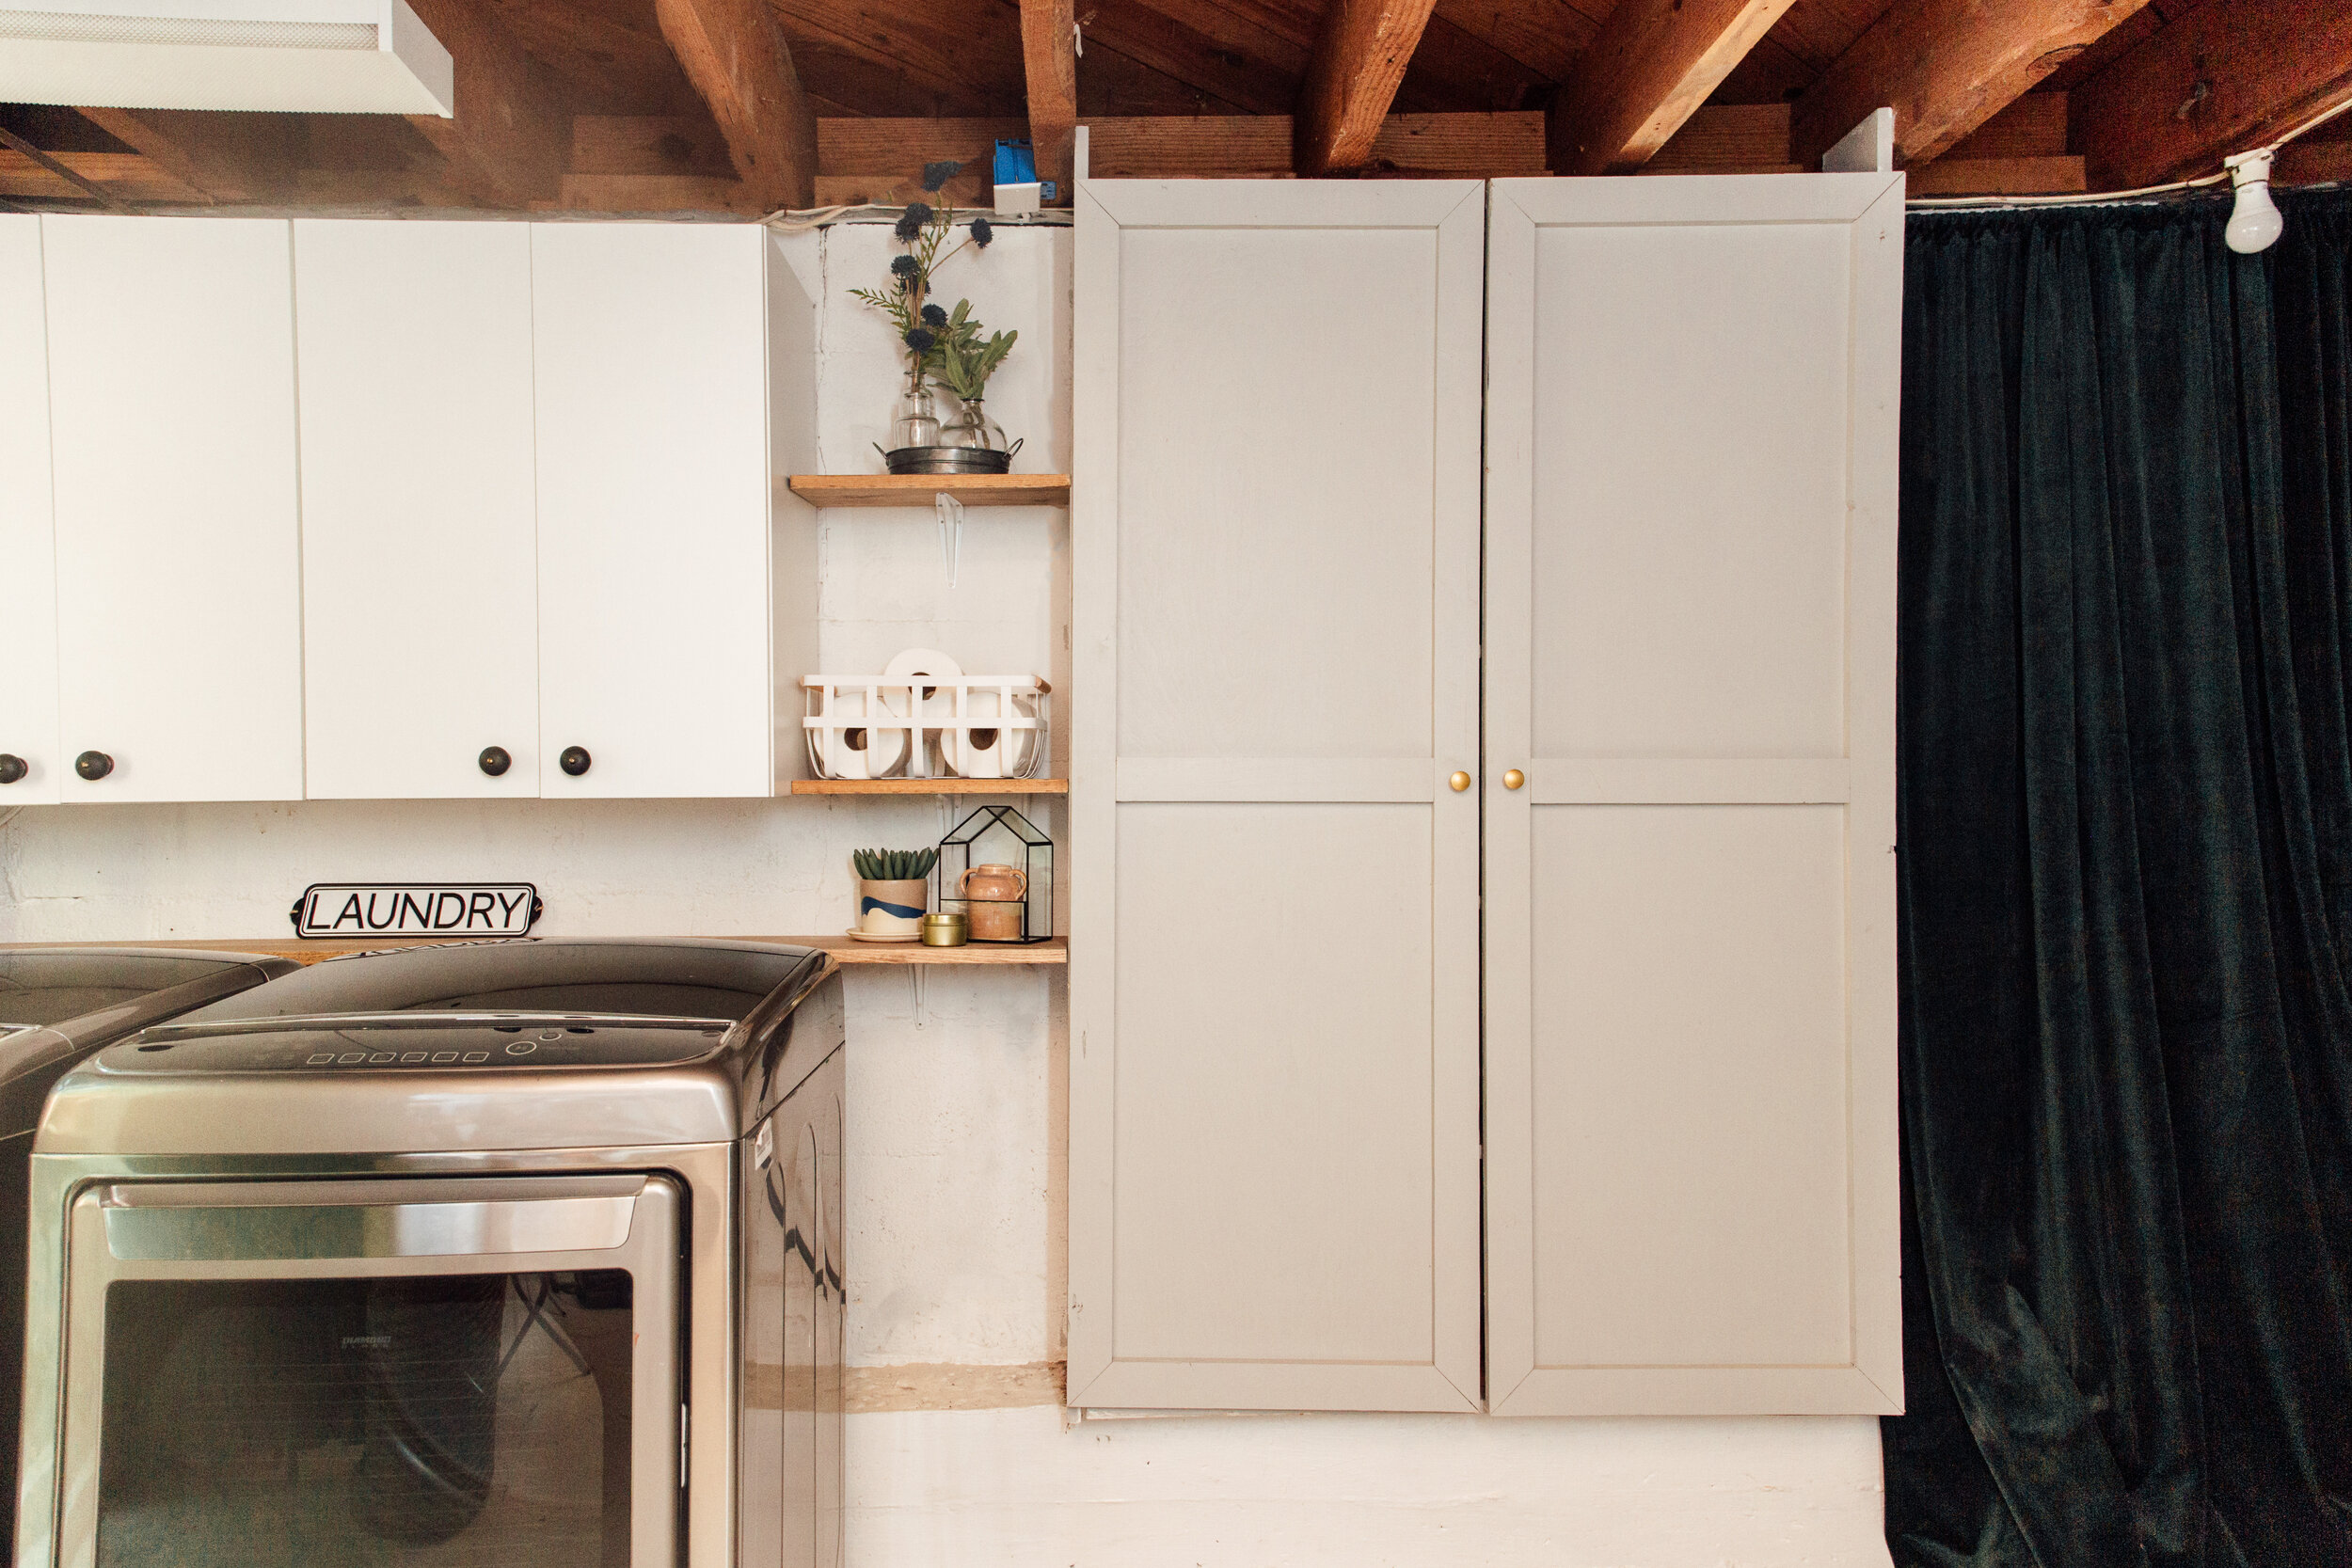
/Today I’m sharing with you guys an easy way to make cabinet doors for shelves! Whether you have existing shelves or want to make shelves and put doors on them, this is an easy and cost effect way to make them! I made these doors for under $75 and that included buying the hardware, wood, and drill bit.
Materials & Tools Needed
1x3x8 Common Board (I bought 5 for 2 doors that were 23”x68”)
¼ Plywood (I got Home Depot to go ahead and cut to the size of my panels)
Cabinet hardware (I used these to create a full overlay effect and were able to mount them inside)
Miter Saw
Clamps (or heavy objects)
Knobs
Cut pieces to size
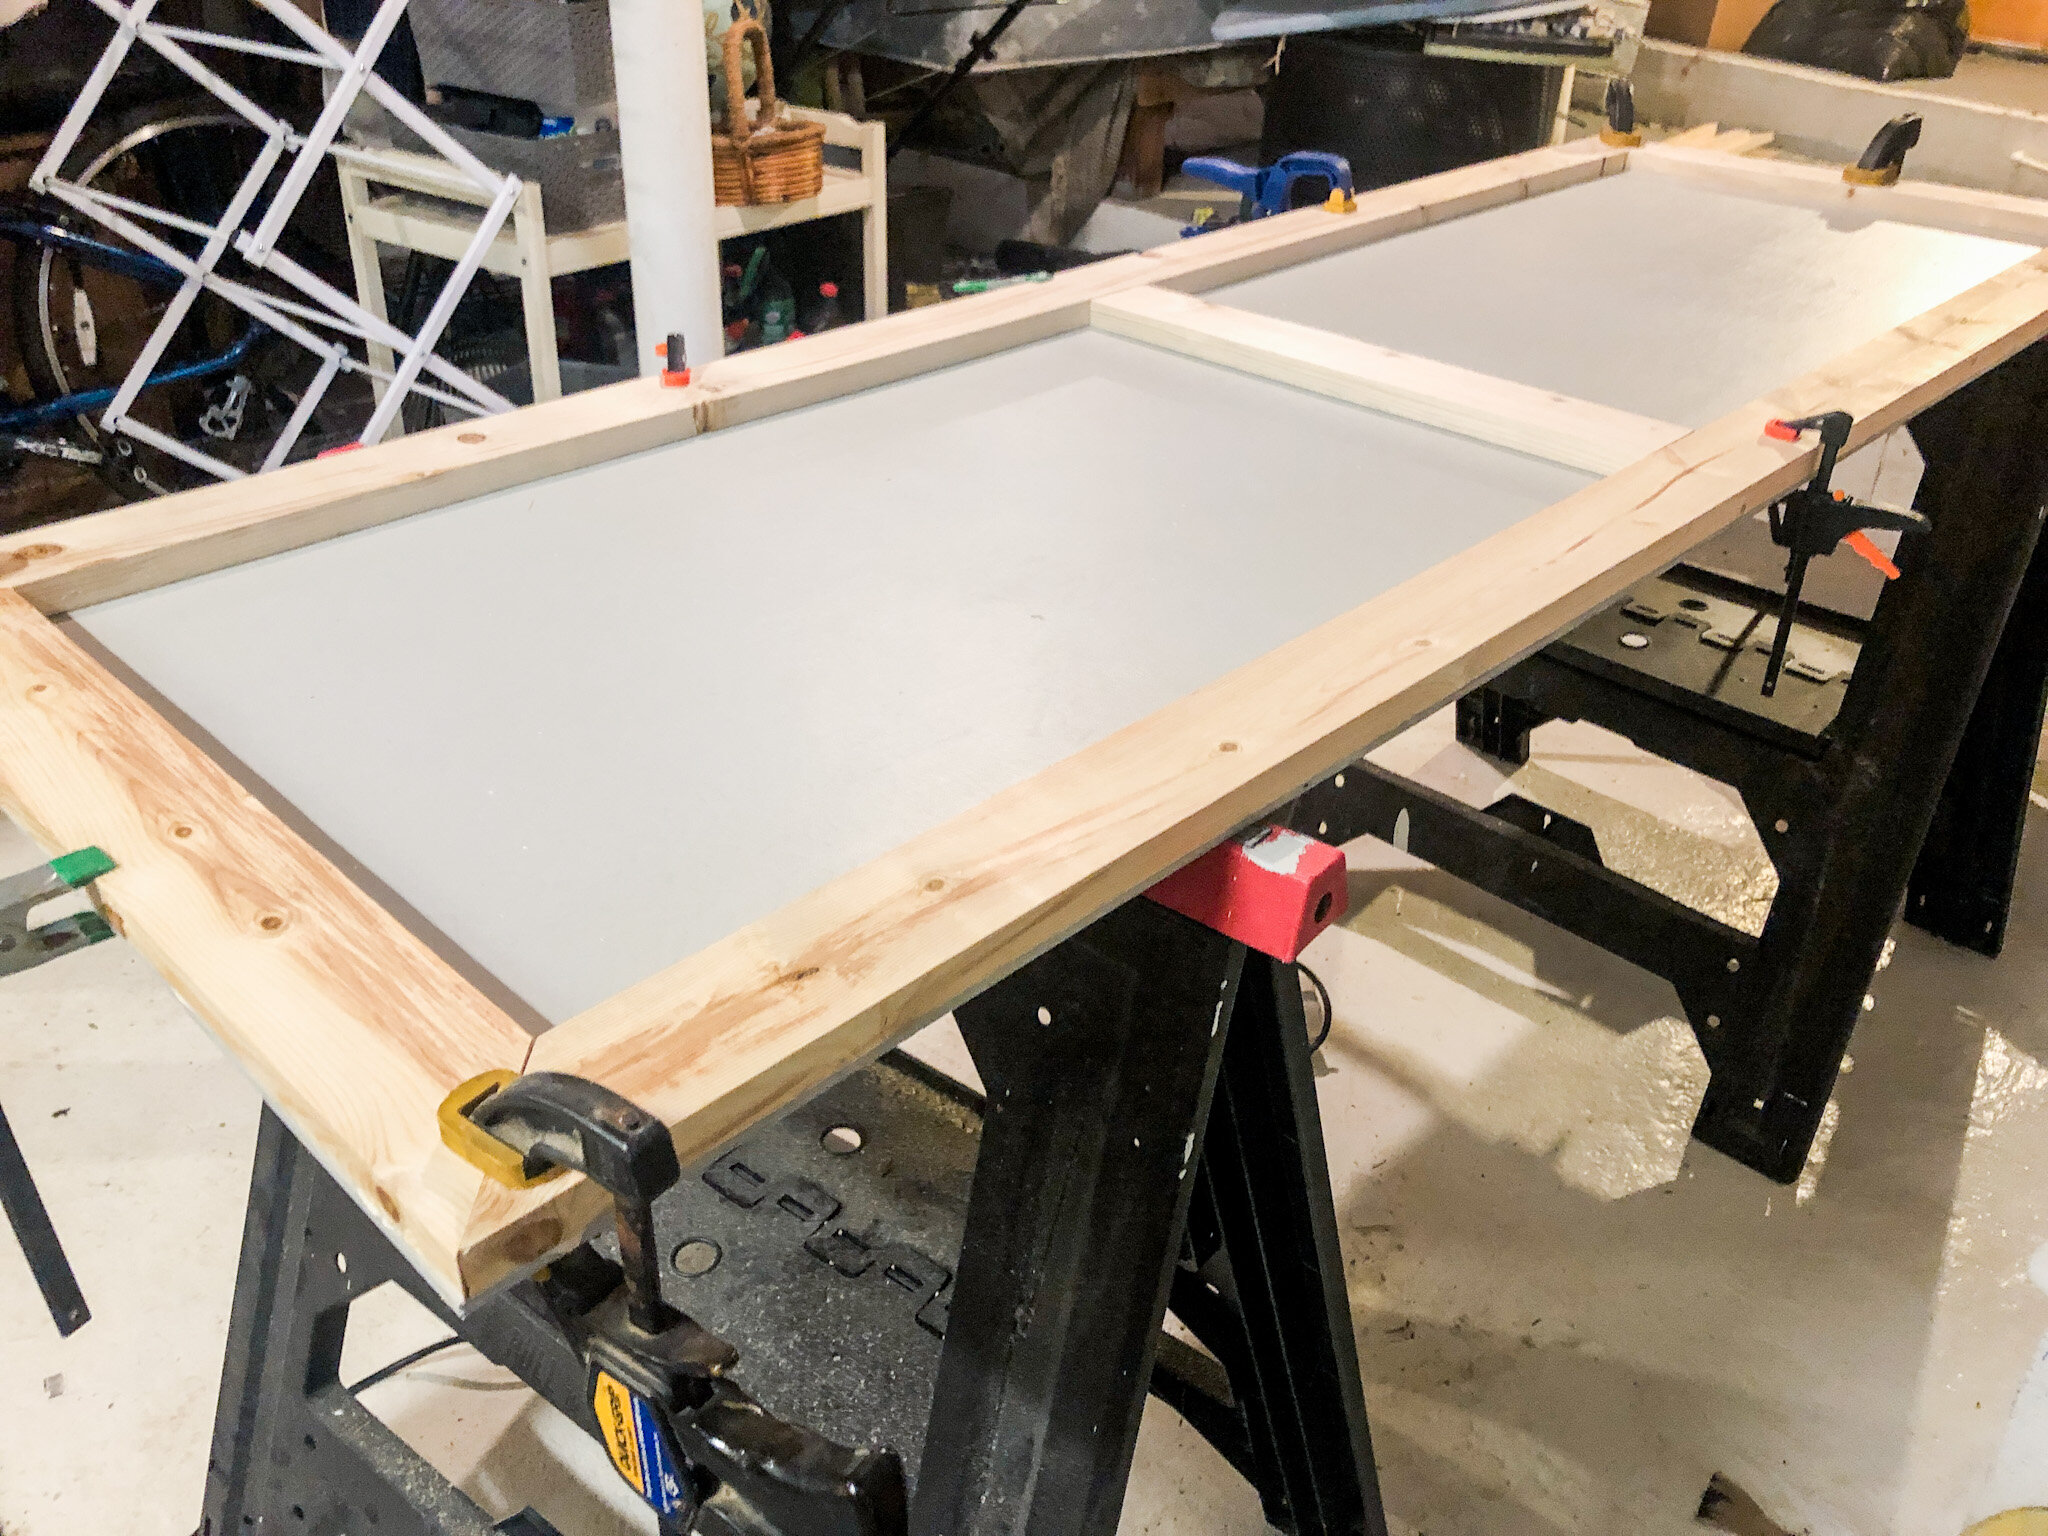
I measured my shelves, so that I knew what the panel size should be and went ahead and had Home Depot cut those down to size. Once I had the panel sizes, I used the 1x3s and measured to fit the plywood. While I did measure the size the 1x3s, to ensure an accurate fit I measured them to fit the already cut plywood. You want to also make sure you buy 1x3s that are not warped. Check that they lay flat on the ground and are straight. You’re then going to cut using a miter saw. I wanted the corners mitered at a 45 degree angle, but you can also just make straight cuts as well.
Glue pieces to plywood
Once all my 1x3 pieces were cut to size, we glued them onto the plywood using liquid nails. We used clamps to hold down all the corners and sides, but if you don’t have clamps, just be sure to lay the door on a flat surface and weigh it down using heavy objects. I allowed the glue to dry overnight.
Paint
The next day I went ahead and painted both doors and allowed that to dry before installing the hardware.
Install the hardware
Because I was installing my cabinet doors onto an existing shelving unit, I need hardware that could be installed inside the cabinets. I didn’t want any of the hardware sticking out. There are a ton of different types of door and cabinet hinges out there, so I suggest doing your research to find what best fits your needs. I ultimately went with a full overlay hardware. This means my door and the shelf both line up together and the hardware is one seamless line. This is what most kitchen cabinets use today.
To install the hardware, I bought a specific drill bit that is made for these types of cabinet hardware. They give you this nifty tool where you can mark your center point and the points for the screws. Go ahead and drill the circle a ½ in deep and attach the hardware to the door first. Once you’ve got your hardware attached to the doors, line the door up to your cabinet box or shelf and screw it onto the unit. You may need help with someone holding it in the correct place in order to attach the door.
And that’s it! It was surprisingly easy and simple and doesn’t take many tools or supplies at all! Let me know if the comments if you have any questions about the process!

